
Step-by-Step Vinyl Fence Installation: Posts, Panels, and Gates Done Right
A step-by-step vinyl fence posts installation comes down to three things done in the right order: posts set plumb in solid footings, panels built square between those posts, and a gate hung so it swings true for years. Skip a step or rush the layout, and you find out in March when Akron's freeze-thaw cycle heaves a post two inches and your gate latch no longer lines up. This guide walks through the full sequence the way a professional crew would run it, so you know what good work looks like whether you do it yourself or hire it out.
One note before the digging starts. In Akron, the posts matter more than anything else. Our clay-heavy soil holds water, and water that freezes expands. A post set too shallow or in a sloppy footing will move. Everything else in this guide depends on the posts staying put.
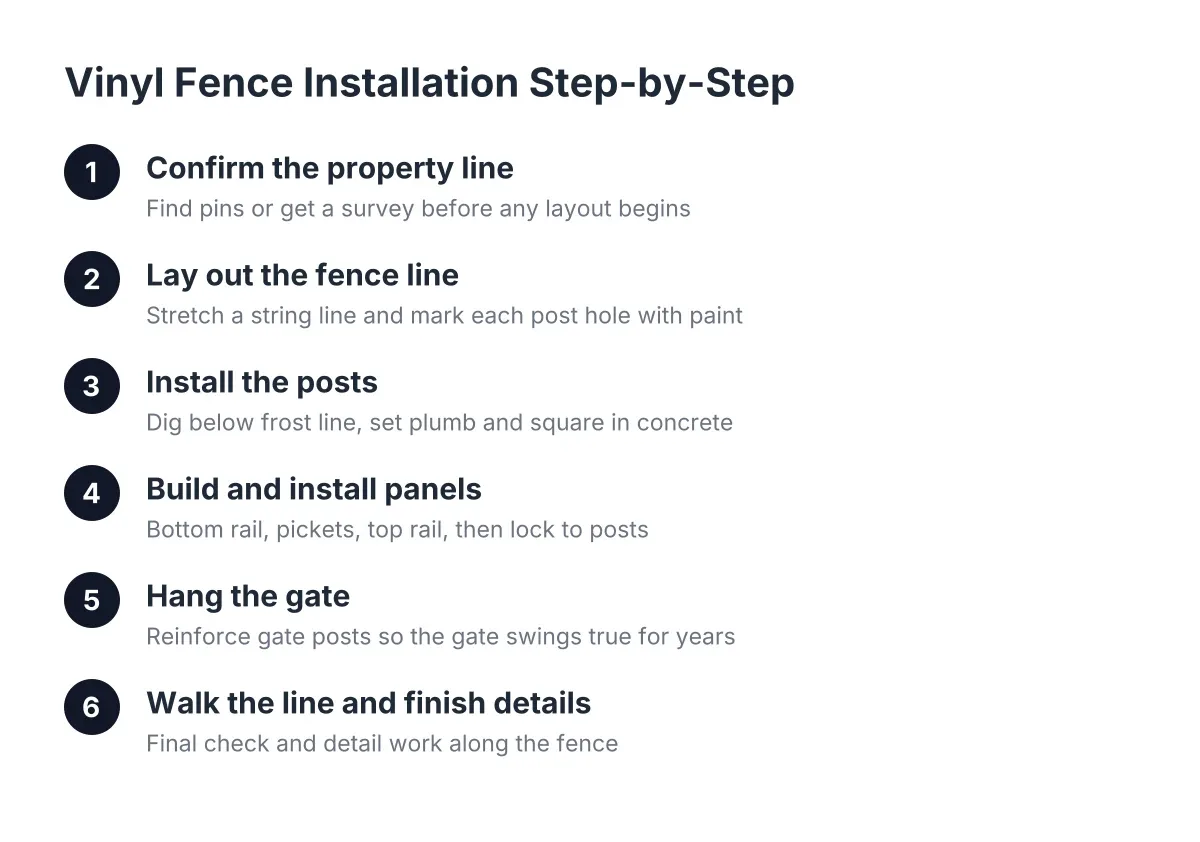
Step 1: Confirm the Property Line Before You Dig
Find your property pins or get a survey before any layout happens. This matters most if you just closed on a new build with no existing fence, or if a neighbor has questions about where the line sits. A fence set a few inches over the line can turn into a dispute that costs far more than the survey would have.
Walk the yard and look for iron pins at the corners. On newer Akron lots, they may still be marked with stakes or flags from the builder's survey. On older platted city lots, pins are often buried or missing. If you cannot find them, hire a surveyor and keep the paperwork. That document is what you point to if the neighbor ever questions the fence.
Then set your fence line inside the boundary, not on it. Most homeowners place the fence a few inches to a foot on their side. In addition, check Akron's setback and permit rules and any HOA requirements before buying material. Call 811 to have utilities marked. All of this is free of drama if you do it first, and expensive if you do it after the concrete cures.
Step 2: Lay Out the Fence Line and Mark Every Post
Stretch a string line between stakes at each corner and gate location. The string is your truth for the whole project; every post centers on it. Measure your panel width, usually 6 or 8 feet, and mark each post hole along the string with paint.
Plan the layout from the corners toward the middle of each run. If the run does not divide evenly into full panels, put the cut panel where it shows least, often near the house or a corner. Mark gate openings exactly to the gate hardware spec, not a rough guess. A gate opening that is an inch wide or narrow is a headache you cannot fix later without digging.
Step 3: Installing Vinyl Fence Posts Properly—The Foundation Step
Posts are the foundation of a vinyl fence. The panels carry no structural load; the posts do all the work. In Akron's clay soil, that means digging below the frost line, which generally runs deeper than many DIY guides written for milder climates assume. A hole that is too shallow will heave when the ground freezes.
Dig holes about three times the width of the post, with the bottom wider than the top if you can manage it. That bell shape resists frost heave. Add a few inches of gravel at the bottom for drainage, because standing water in clay is what drives movement.
Set each post in concrete and check it two ways before the mix stiffens:
- Plumb on two adjacent faces with a level
- Height against the string line
- Rail openings aligned exactly with the openings in the neighboring posts
- Face of the post centered on the string
That third check trips up more first-timers than any other. The rail holes in every post along a run must line up with each other before the concrete sets. If one post is rotated even slightly, the rails will not seat and you cannot fix it without breaking out the footing. A typical crew sets posts one day and hangs panels the next, giving the concrete time to cure.
For tough spots, say a post butting against a neighbor's existing fence or squeezed beside a mature tree, installers sometimes set a metal pipe in the footing and sleeve the vinyl post over it. The reinforced post carries the load where a normal footing will not fit.
Step 4: Building and Installing Vinyl Fence Panels Between Posts
Hanging vinyl fence panels follows a repeatable rhythm: bottom rail, pickets, top rail, then lock everything to the posts. First, cut the bottom rail to fit snugly between the two posts and seat it in the rail openings. A rail cut short rattles; a rail cut long bows the posts. Measure each bay, because post spacing is never perfect to the sixteenth of an inch.
Next, insert the pickets. Grooved pickets interlock tongue to groove across the panel. Starting with the groove side facing in makes the final picket easier to mark and cut, because you can see exactly where the groove stops at the post. Some installers set the top rail first and pop pickets in afterward; both methods work, and panel kits often allow either.
On slopes, you do not have to build every panel in the same direction. Reversing the build direction on a downhill run keeps pickets from sliding as you insert them. Akron yards are rarely flat, so expect to step panels down a hillside rather than rack them, since most privacy panels do not rack far.
Once the pickets sit flush, set the top rail and secure the rails to the posts with the screws made for vinyl rail connections. Then install the side strips on each post face to hold the pickets in place. Finish each post with a cap: apply PVC glue inside the cap and press it on for a sealed, permanent fit. One small appearance trick worth copying from the pros: set posts so the finished side of the fence hides them behind the panel, while on your yard side the post can stand a few inches proud of the top rail for a clean look.
Step 5: Hang the Gate So It Still Swings in Five Years
Gates fail more often than fence panels because they move every day. Start with the gate posts, which carry more load than line posts; many installers reinforce them with metal or aluminum inserts inside the vinyl sleeve. Set the opening to the exact width the gate hardware calls for.
Hang the gate with self-closing hinges rated for vinyl, leaving even gaps on both sides. Check the swing through its full arc before tightening everything down. Mount the latch at a height kids cannot reach if pet or child containment is the point of the fence, which it is for most new-build perimeter owners. Finally, open and close it twenty times. If it drags or the latch misses, fix it now, not after the hardware wears a groove.
Step 6: Walk the Line and Finish the Details
Sight down the fence from each corner. The top line should run straight or step evenly on slopes, with no wandering posts. Backfill and tamp soil around each footing, sloping the grade away so water drains off instead of pooling against the concrete. Pick up every screw and offcut; vinyl shards and mower blades do not mix.
This is also the moment to add anything beyond the basic run. A vinyl fence arbor over the gate dresses up a front walk, and a vinyl crossbuck fence works well along a larger lot's road frontage where privacy is not the goal. Matching these pieces to the main fence is easiest when they come from the same product line.
When a Step-by-Step Vinyl Fence Guide Is Not Enough
A guide covers the normal case. It cannot cover a disputed property line, a buried spring, a 20 percent grade, or a run of old concrete footings from a fence that fell down years ago. Suppose a homeowner in Ellet buys a new build on a quarter-acre lot, finds one survey pin, and discovers the neighbor believes the old chain link remnant marks the line. In that scenario, the smart money goes to a surveyor first and a fence crew second, because no installation technique fixes a fence built in the wrong place.
Cost is the other honest trade-off. DIY saves labor, but vinyl fence installation is unforgiving of layout mistakes, and misaligned posts often mean buying new material. For context, according to HomeAdvisor, homeowners typically spend between $1,743 and $4,431 on a new fence installation, averaging $3,059 nationally, with material and yard conditions driving the difference. A full perimeter on a new-build lot lands higher than a short run, and Akron's clay digging is slower than sandy-soil guides suggest.
If you search "vinyl fence installation near me" and talk to a local fence company, ask how deep they set posts for Akron's frost line, how they handle slopes, and whether they want survey pins located before layout. The answers tell you whether they build for this ground or for a generic diagram. A step-by-step vinyl fence plan only works when every step accounts for the yard it is actually standing in.
If you need vinyl fence installation, Akron Fence Co can help.
Prefer to talk it through? Call (330) 302-2470 — a quick call is usually the fastest way to get a straight answer for your situation.