
Vinyl Fence Installation in Clay Soil: Post Depth, Drainage, and Doing It Right
Akron sits on heavy clay. That one fact changes how a vinyl fence should go in the ground, and it is the reason a lot of DIY fences here lean within a few winters. This guide walks through vinyl fence installation on clay soil step by step: how deep the posts need to go, how to handle drainage, and where a professional crew earns its keep. Installing a vinyl fence on clay soil presents distinct challenges compared to other soil types, and this guide addresses what the work actually looks like when it is done for Akron ground, not for the sandy soil most online tutorials assume.
Clay holds water. When that water freezes, it expands and pushes on anything in the ground, including fence posts. That push, called frost heave, is why post depth and drainage matter more here than almost anywhere else in the install.
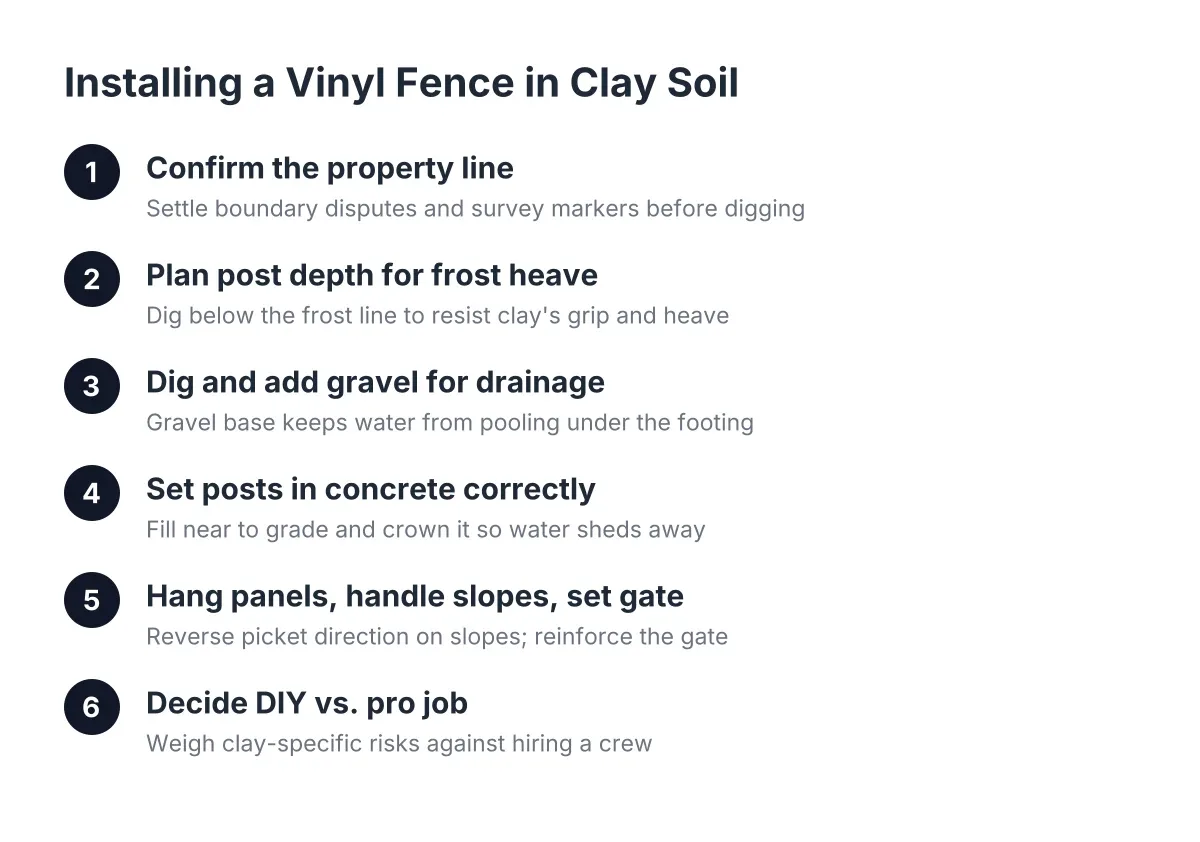
Step 1: Confirm the Property Line Before Anyone Digs
Start with the line, not the fence. If your survey markers are missing, or you and your neighbor disagree about where the boundary sits, settle that before a single hole gets dug. Moving a fence three inches after the fact costs far more than confirming the line up front.
Here is a hypothetical that plays out all over Akron: say a homeowner on an older platted city lot wants to replace a fallen wood fence, and the new neighbor questions who owns the old posts. In that scenario, a current survey or located pins ends the argument before it starts. The fence goes clearly on the owner's side, and there is paperwork to point to if the question ever comes up again.
A few practical points for Akron lots:
- Older city lots often have tight side yards and long-standing fences that may not sit on the actual line.
- Newer suburban parcels usually have setback norms and sometimes HOA rules on fence height and style.
- If you need a pool fence for permit sign-off, the inspector will care about height, gaps, and a self-latching gate, so plan the layout around code from day one.
Ask any fence company you call whether they will walk the line with you, work from your survey, and set posts inside your boundary. A straight answer here tells you a lot about the rest of the job.
Step 2: Plan Post Depth for Clay and Frost Heave
Dig below the frost line, period. In Northeast Ohio, that means post holes deep enough that the bottom of the footing sits beneath the depth where the ground freezes. Shallow posts in clay are the single most common reason vinyl fences heave, tilt, and rack out of square.
Clay complicates this in two ways. First, it drains slowly, so water pools around the footing and freezes against it. Second, clay grips the sides of a concrete footing; when the upper soil heaves, it can lift the whole post with it. Deeper holes with proper footings resist both problems.
The posts are the foundation of a vinyl fence. The panels only stay straight if the posts stay put. A vinyl fence on clay soil requires holes that are wider at the bottom than a wood fence might get, with the post centered so concrete surrounds it evenly. Gate posts and corner posts take the most stress, so they get the deepest, widest footings of the run.
Step 3: Dig and Add Gravel for Drainage
Dig each hole to the planned depth, then add a layer of gravel at the bottom before the post goes in. In clay soil this step is not optional. The gravel gives water somewhere to go instead of sitting under the footing, and it creates a stable, level base to set the post on.
In addition, watch what comes out of the hole. Akron yards often hide old footings from fences past. Leaving a sound old footing in place along the line can actually help stabilize the surrounding soil, so a good installer decides hole by hole whether to pull it or work around it. Tree roots, buried debris, and utility lines are the other common surprises; always have utilities marked before digging.
If a post has to land on an existing patio or walkway, breaking the concrete is not the only option. A core drill cuts a clean hole through the hard surface so it stays intact, and a base skirt at the bottom of the post covers the transition. That is specialty equipment most homeowners will not rent for one job.
Step 4: Set Posts in Concrete, Filled the Right Way
Set each post plumb, brace it, and fill the hole with concrete. Here is the mistake that shortens the life of more vinyl fences than any other: filling concrete only partway up and backfilling the rest with dirt or sod. That traps moisture right at the post's ground-level contact point, and in clay, that spot stays wet. It becomes the failure point.
Instead, bring the concrete close to grade, then cap it with a thin layer of soil so grass can grow flush against the post. You get a clean fence line and a footing that sheds water instead of collecting it.
A few technique notes that separate a solid install from a shaky one:
- Crown the concrete slightly so water runs away from the post, not into the hole.
- For high-stress spots, such as a post butting against a neighbor's fence or squeezed near a tree, a metal pipe reinforcement sleeved inside the vinyl post adds strength the hollow post does not have on its own.
- Check plumb twice while the concrete is wet. Clay walls can shift a braced post as you tamp.
Step 5: Hang Panels, Handle Slopes, and Set the Gate
Once the posts cure, the rails and pickets go in. On flat ground this moves fast. On Akron's rolling lots, slope is where panel work gets technical. One useful trick: pickets do not have to be installed in the same direction down an entire run. On a sloped section, reversing the building direction keeps pickets from sliding downhill as they drop into the rail.
The gate deserves extra attention. It is the only moving part of the fence and the first thing to sag if the posts flex. For a pool fence, the gate also carries the code load: self-closing, self-latching, with the latch at the height your inspector requires. If a permit deadline is driving your timeline, tell the installer up front so the gate hardware is right the first time.
Plenty of homeowners watch a vinyl fence installation video and feel ready to tackle this stage. Panel assembly is honestly the most DIY-friendly part. The ground work in Steps 2 through 4 is where clay soil punishes shortcuts, and it is the part no video filmed in another state prepares you for.
Step 6: Decide Whether This Is a DIY Job or a Pro Job
Be honest about the dig. A homeowner with patience can handle layout, panel assembly, and cleanup. However, digging dozens of deep holes in wet clay, hauling concrete, coring through a patio, and truing a long run of posts is heavy, exacting work. Get one gate post wrong and the whole entry sags.
Call a professional when any of these apply:
- The fence encloses a pool, hot tub, or deck and must pass inspection for permit closeout.
- The property line is disputed, unmarked, or tight against a neighbor's existing fence.
- The run crosses a slope, a hard surface, or ground full of old footings and roots.
- You find standing water along the fence line after rain, a sign the clay drains poorly and the footings need extra care.
Searching for vinyl fence installation companies near me will surface plenty of options. When you compare them, ask three questions: how deep do you set posts for this area, how do you handle drainage in clay, and do you fill concrete to grade or backfill with dirt. The answers tell you whether they build for Akron ground or just assemble panels.
What to Expect: Vinyl Fence Installation on Clay Soil
A full-service job should include layout from your survey, utility marking, digging below frost depth, gravel and concrete footings, panels, and the gate with hardware. Haul-away of an old fence, core drilling, and reinforced posts are often extra, so ask for them in writing on the fence estimate.
According to HomeAdvisor, homeowners typically spend between $1,743 and $4,431 on a new fence installation, averaging $3,059 nationally. Vinyl usually lands above wood and below ornamental options, and clay digging, slopes, and gates all push the number around. A clear estimate should break those factors out line by line.
Most residential vinyl installs take a few days once materials arrive, though permits, surveys, and weather can stretch the timeline; a clay-heavy spring dig is slower than a dry fall one. If your situation involves a legal boundary dispute, talk to a surveyor or attorney as well; a fence company can build on the line you establish, but it cannot establish the line for you.
If you are weighing a vinyl fence for an Akron yard, get an estimate from an installer who will talk plainly about post depth, drainage, and your property line. Akron Fence Co builds for this clay every week and can look at your lot, your line, and your timeline before you commit to anything.
If you need vinyl fence installation, Akron Fence Co can help.
Prefer to talk it through? Call (330) 302-2470 — a quick call is usually the fastest way to get a straight answer for your situation.