
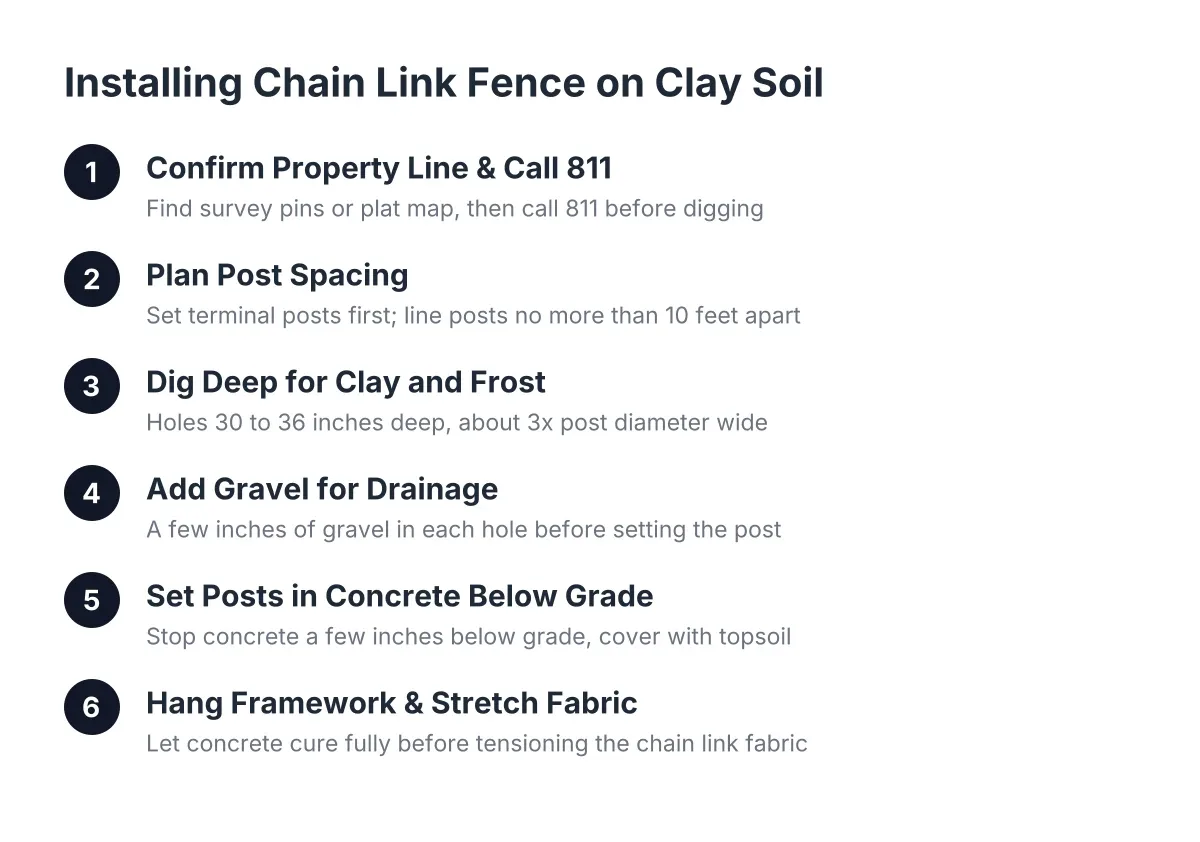
Chain Link Fence on Clay Soil: Post Depth, Drainage, and Freeze-Thaw Steps
Setting a chain link fence in clay soil is a different job than setting one in sandy or loamy ground. Akron sits on clay-heavy soil that holds water, swells when wet, and heaves when it freezes. If you install a chain link fence on clay the same way a generic online guide shows, the posts can shift within a few winters. This step-by-step guide walks through how to set posts, handle drainage, and protect the fence from freeze-thaw cycles so it stays straight for decades.
This matters whether you are fencing a new-build lot for the first time or replacing a section a storm took out last week. Clay does not forgive shortcuts. The good news is that the fixes are simple if you do them in the right order.
Step 1: Confirm Your Property Line and Call Before You Dig
Start by finding your actual property line, not where the old fence stood or where the lawn seems to end. On older Akron city lots, fences sometimes sit a foot or more off the recorded line. On newer suburban parcels, builders often leave survey pins at the corners. Find those pins or pull your plat map before anything else.
Next, call 811 at least a few business days before digging. Utility locators will mark gas, electric, and water lines for free. Clay soil is hard digging, and you do not want to hit a line while fighting through it.
If you are replacing storm-damaged fence, this step still applies. A new post hole a few inches from the old one is still a new hole, and the locate marks may have changed since the original fence went in.
Step 2: Plan Post Spacing and Mark Every Hole
Lay out your terminal posts first. These are the corner, end, and gate posts, and they carry the tension of the entire fence. Line posts go between them, usually spaced no more than ten feet apart. Stretch a string line between terminal post locations and mark each hole with paint or a stake.
For a gate, measure the opening width now, not after the posts are set. Gate posts in clay need the most careful setting of any post on the line, because a sagging gate is the first thing you will notice every day.
Step 3: Dig Post Holes Deep Enough for Clay and Frost
In Northeast Ohio, post holes need to reach below the frost line, which generally means digging deeper than the quick-reference charts in a chain link fence installation guide PDF suggest. For a typical residential fence, that often means holes in the range of 30 to 36 inches deep, with terminal and gate posts at the deeper end.
Here is why depth matters more in clay. Clay holds moisture against the footing. When that moisture freezes, it expands and pushes upward on anything it can grip. A shallow footing gets lifted a little each winter, and the post leans more each spring. A footing that sits below the frost line stays anchored because the frozen layer above it cannot get leverage.
Width matters too. Dig the hole about three times the diameter of the post. A wider footing spreads the load and resists tipping when wet clay softens in spring.
Step 4: Add Gravel to Chain Link Fence in Clay and Drain Away From the Post
Pour a few inches of gravel into the bottom of each hole before the post goes in. This is the single cheapest improvement you can make when installing a chain link fence on clay. Gravel gives water somewhere to go instead of pooling at the base of the footing, and it gives the post a stable, level base to rest on while the concrete sets.
Skipping this step is common because clay feels solid when you dig it. However, solid is not the same as dry. Clay that feels like brick in August turns to paste in March, and a post sitting directly on saturated clay will settle unevenly.
Step 5: Set Posts in Concrete, and Stop the Concrete Below Grade
Set each post in the center of the hole, check it for plumb on two sides, and pour concrete around it. Tamping dirt back into the hole without concrete is not an acceptable practice for a fence you expect to last, especially in clay. The posts carry real tension once the fabric is stretched.
Now the detail most online diagrams get backwards. Stop the concrete a few inches below ground level, then cover it with a layer of topsoil once it cures. This does three things:
- It hides the footing, so grass grows flush against the post and the fence line looks finished.
- It locks the post in place through winter, since the buried collar resists frost grab better than an exposed one.
- It keeps the top of the footing from becoming a bowl that funnels water down the post.
One caution. Do not pour the concrete only partway up the hole and backfill a deep layer of dirt on top. That traps moisture right where the post meets the ground, and that contact point becomes the most common failure spot on the whole fence. A few inches of soil over a full-depth footing is the goal, not a half-filled hole.
Where the ground slopes, such as along a driveway, run a string line across the post tops before the concrete sets. That keeps every post a consistent height above grade so the finished fence follows the surface evenly.
Step 6: Hang Framework and Stretch the Chain Link Fabric
Let the concrete cure fully, which usually means waiting a few days before putting tension on anything. Rushing this step in clay is tempting, especially after storm damage when the dog is loose and the yard is open. Resist it. Tension on green concrete in soft ground will pull terminal posts out of plumb.
Once cured, install tension bands and caps on the terminal posts, run the top rail through the line post caps, and unroll the fabric along the outside of the frame. Stretch the fabric with a fence puller from one terminal post to the next, then tie it to the top rail and line posts. Fence ties come in different lengths matched to the pipe diameter, so buy ties sized for your framework. When tying, it helps to work from the side of the post opposite the mesh where access allows.
Hang the gate last, after everything else is tensioned. A gate hung before final tensioning often ends up out of square.
Step 7: Grade the Soil so Water Runs Away from the Fence Line
Finish by backfilling the top of each hole with topsoil and grading it so water sheds away from the posts. In clay, surface drainage does most of the work of protecting your footings. A fence line that sits in a low spot where water ponds will fight frost heave every winter no matter how well the posts were set.
Walk the line after the next hard rain. If you see standing water against any post, add soil and regrade that spot. Ten minutes with a rake now saves a leaning post later.
When Clay Soil Calls for a Pro Instead of a Weekend
A chain link fence in clay soil is within reach for a patient homeowner, but some situations justify a fence company. Suppose a storm drops a limb across forty feet of fence and three posts snap off at the footing. In that scenario, the old concrete has to come out of heavy clay before new posts go in, which is the hardest digging on the whole job. A typical crew has the augers, breakers, and hands to do in a morning what might take a homeowner two weekends.
Tight access situations, long runs with multiple gates, and fences butting against existing structures also get complicated fast. For reference on budget, HomeAdvisor data shows homeowners typically spend between $1,743 and $4,431 on a new fence installation, averaging $3,059 nationally; chain link usually lands toward the lower end of material options, though clay digging and tear-out can add labor. A written fence estimate from a local company that works in Akron ground conditions will tell you exactly where your project lands.
One honest trade-off to weigh in 2026 as you compare material options: professional chain link fence installation costs more than doing it yourself, but in clay soil the cost of redoing heaved posts often erases the savings. Either way, the steps above are the same ones that separate a fence that lasts thirty years from one that leans in three.
If you need chain link fence installation, Akron Fence Co can help.
Prefer to talk it through? Call (330) 302-2470 — a quick call is usually the fastest way to get a straight answer for your situation.