
Red Cedar Split Rail Fence Installation: Setting Posts Right in Akron Clay Soil
If you have settled on a red cedar split rail fence for your Akron property, the project now comes down to execution. Split rail looks simple, and the materials are. The hard part in Northeast Ohio is the ground. Akron's clay-heavy soil holds water, swells when it freezes, and pushes on posts all winter. When setting posts in clay soil, a red cedar split rail fence that gets the post setting right can stand for decades. One that doesn't will heave, lean, and loosen within a few seasons.
This guide walks through the installation step by step, from marking the line to hanging the gate. It is written for a homeowner on a new-build lot or anyone marking a boundary, whether you plan to do the work yourself or want to know what a good fence installation crew should be doing in your yard.
Step 1: Confirm the Property Line Before Anything Else
Start with the line, not the fence. On new-build lots, survey pins are often still findable at the corners; a metal detector and a shovel will usually turn them up. On older Akron city lots, pins may be missing, and a fresh survey is the only honest answer.
Set the fence a few inches inside your line, not on it. That small setback means the fence is clearly yours, and it gives you something to point to if a neighbor ever raises a question. For example, suppose a homeowner on a new cul-de-sac lot wants to fence the back boundary before the neighbor behind them does. Finding both rear pins and stringing a line between them settles the question before a single hole gets dug.
In addition, call 811 before digging. Utility locating is free in Ohio, and it is required before you excavate post holes. If your pins are missing or your deed description is unclear, bring in a surveyor before the fence crew. That is one place where skipping a professional creates problems a fence company cannot fix later.
Step 2: Choose Your Red Cedar Split Rail Materials
Western red cedar is the standard for split rail because it resists rot and insects naturally, with no chemical treatment needed. The wood weathers from a reddish tan to a soft silver gray over time, which is part of the look most homeowners want from this style.
Your material list is short:
- Rails, usually 10 or 11 feet long, split or doctored to a rough rustic face
- Line posts, mortised all the way through so rails from both directions seat in the same pocket
- End posts, mortised partway through for a clean finished face at gates and corners
- Corner posts, mortised on two adjacent faces
- Gate hardware and a matching gate, if you need an opening for a mower or trailer
Decide between a 2 rail and 3 rail layout before ordering. Two rails sit lower and suit open boundary marking. Three rails read more substantial and pair better with welded wire mesh if you are containing a dog on a new unfenced lot. Red cedar split rail fence posts are the component to inspect most carefully at delivery; reject any post with soft spots or deep checks near the mortise.
Step 3: Lay Out Post Spacing With the Rails Themselves
Set a post at each end of the run first, then stretch a string line between them. Every post in between gets set to that string, which is how a crew keeps a long run straight across a lawn that is never as flat as it looks.
Next, use the rails to mark spacing. Drop a rail flat on the ground between the two end points and mark where it lands. Because rails overlap inside each mortise, measuring with a tape alone invites cumulative error; the rail itself is the truest gauge. Repeat down the line and flag each post location.
On slopes, shorten the spacing. A full-length rail on a steep grade cannot reach into both post pockets at once, so steep sections need posts set closer together for the rails to seat. Akron yards with graded new-build lots often have one sloped side yard where this matters.
Step 4: Setting Posts in Clay Soil and Freeze-Thaw
This step decides whether the fence lasts. Akron's clay holds moisture against the post and expands when it freezes, which lifts shallow posts out of the ground an inch or two each winter. Dig below the local frost depth, and dig deeper than feels necessary. A deeper, well-drained hole beats a shallow hole with concrete every time in clay. The technique for setting posts in clay soil requires attention to both depth and drainage, as the ground's freeze-thaw cycle can lift improperly anchored posts.
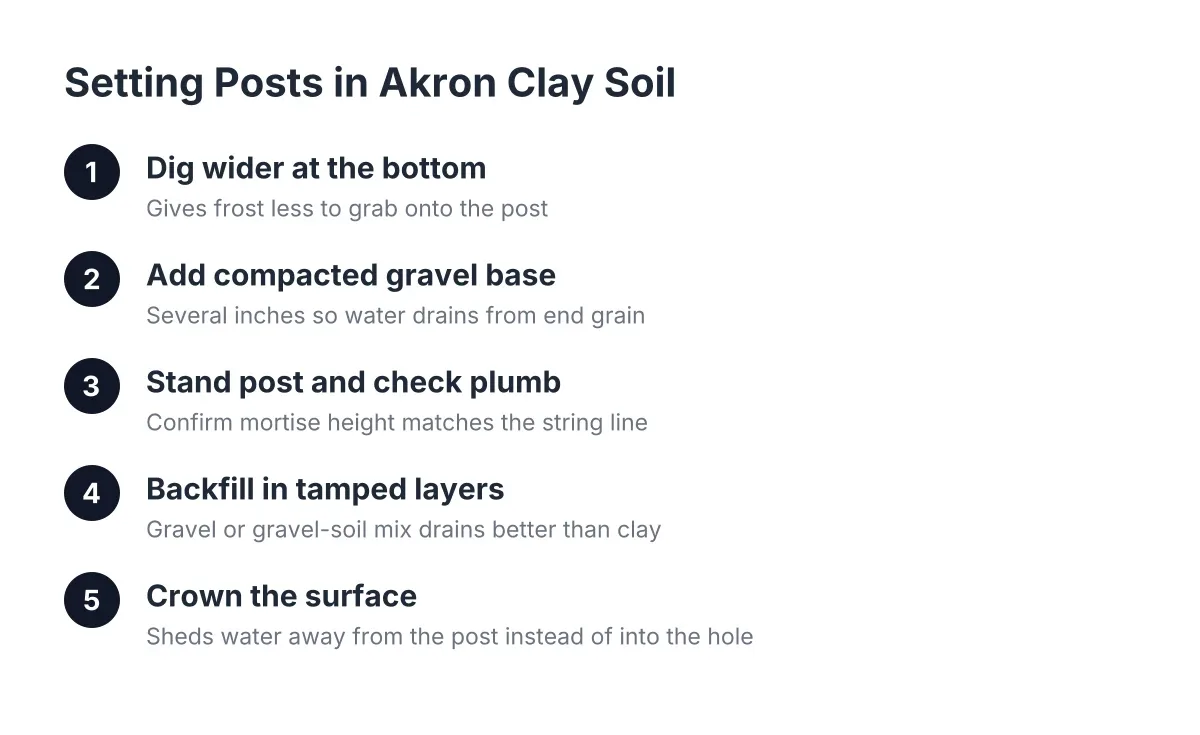
For split rail, gravel-set posts generally outperform concrete in heavy clay. Here is the sequence a careful installer follows:
- Dig the hole wider at the bottom than the top, which gives frost less to grab.
- Add several inches of compacted gravel at the base so water drains away from the end grain instead of pooling under it.
- Stand the post, check it plumb on two faces, and confirm the mortise height matches the string line.
- Backfill in layers, tamping each layer hard. Gravel or a gravel-and-soil mix drains better than straight clay backfill.
- Crown the surface so water sheds away from the post rather than funneling down the hole.
Concrete has its place at gate posts and corners that take lateral load. However, a concrete collar in wet clay can trap water around cedar and act as a handle for frost heave if it is poured shallow. If you want concrete at a gate, it needs full depth and proper drainage underneath.
Step 5: Seat the Rails and Work Down the Line
Install rails as you set posts, not after. Seat both rail ends into one post's mortises, then slide the next post onto the free ends before dropping it into its hole. Working post by post this way keeps mortise heights aligned and avoids forcing rails into pockets that no longer line up.
Stagger your sightline checks. Every third or fourth post, step back to the end of the run and look down the string. Clay spoil piles and soft fill make it easy for a post to drift off plumb while you tamp the next one. Catching a lean early is a thirty-second fix; catching it after the run is finished means pulling rails.
At the end of a run, the end post's partial mortise gives the fence a finished face. If the run butts against an obstacle, such as a neighbor's existing fence or a mature tree, a reinforced post can solve it; a steel pipe set in the ground with the wooden post worked around it carries the load where a normal hole is impossible.
Step 6: Hang the Gate and Add Mesh if You Need Containment
Set gate posts deeper and heavier than line posts, because a swinging gate works its post loose faster than anything else on the fence. Leave the gate opening wide enough for your mower or a future project trailer; four feet is a common walk gate width, and drive gates run wider.
Split rail on its own marks a boundary but does not contain pets or toddlers. Therefore, many new-build owners add welded wire mesh to the yard side of a 3 rail layout. Staple it to posts and rails, keep it tight to the ground, and it disappears visually from a distance while keeping the dog home.
Step 7: Know What a Pro Install Includes and What It Costs
A full split rail fence installation from a fence company should include layout and string lining, utility locating coordination, digging and setting posts for local frost conditions, rails, gate installation, haul-away of spoil, and cleanup. Survey work is almost always separate, as is permit handling in some municipalities; ask directly so neither surprises you on the invoice.
On cost, materials for cedar split rail run lower per foot than privacy fence, but total project cost depends on footage, gates, slope, access for equipment, and whether you add mesh. For context, HomeAdvisor reports homeowners typically spend between $1,743 and $4,431 on a new fence installation, averaging $3,059 nationally, and Redfin puts the average around $3,200. Split rail often lands toward the lower end of fence pricing per foot, though a long new-build perimeter adds up on footage alone.
Timeline is shorter than most fence styles. A typical crew can set posts and rails on an average residential perimeter in a day or two once materials are on site, with weather and ground conditions as the main variables. Spring in Akron means wet clay and slower digging; late summer and fall ground is usually easier to work.
Setting Posts in Clay Soil for Split Rail Durability
Split rail is one of the more DIY-friendly fence styles because there are no panels to level and no pickets to space. A homeowner comfortable with a post hole digger can handle a short, flat run. Hire a pro when the job involves steep slopes, long runs where straightness shows, gate posts, rocky or saturated clay, or any uncertainty about the property line. If an existing fence is already heaving or leaning, that is a sign the original posts were set shallow, and repair or replacement should go to a crew that digs for Akron frost conditions.
Before you hire, ask three questions. How deep do you set posts, and how does that compare to local frost depth? Do you set split rail posts in gravel or concrete, and why? What does the fence estimate include on permits, survey coordination, and cleanup? A straightforward installer answers all three without hedging, and the answers tell you more than any brochure.
Get a Clear Estimate for Your Split Rail Project
A red cedar split rail fence is a forgiving style built from honest materials, but Akron clay does not forgive shallow posts. Get the line confirmed, the spacing set by the rails, and the holes dug deep with drainage, and the fence will outlast the landscaping around it.
Akron Fence Co installs split rail and other wood fence styles for homeowners across the Akron area, with posts set for the clay and freeze-thaw cycles this ground actually delivers. If you are ready to mark your property line or fence a new-build perimeter, reach out for a clear estimate on your red cedar split rail fence installation.
Prefer to talk it through? Call (330) 302-2470 — a quick call is usually the fastest way to get a straight answer for your situation.